Acurast Processor — the Step-by-Step Guide
Acurast is a smartphone-based serverless cloud DePIN (Decentralized Physical Infrastructure Networks) on a mission to decentralize the cloud computer space.
Explore the step-by-step guide further below after the short introduction of Acurast.
Imagine a world where your mobile phone isn’t just a communication device but a part of a vast, unstoppable, decentralized cloud network. Acurast makes this possible, offering everyone the opportunity to contribute to and benefit from this decentralized cloud.
Acurast is part of an exciting new category of decentralised protocols aimed at Decentralized Physical Infrastructure Networks—in short, DePIN. Join this revolution by onboarding today as an Acurast Processor.
Turn a spare phone into a Cloud Powerhouse with Acurast!
Do you have a spare or partly broken phone lying around? Transform it into a pivotal part of Acurast’s decentralized Cloud. With Acurast, your spare devices, even those with a broken screen, aren’t just idle gadgets; they can become an Acurast Processor within a few minutes. Embrace the future and convert any Android device, new or old, fully functional or slightly damaged, into a source of computational power for Acurast.
Participate and get rewarded
Developers will reward you for each compute task you execute as a Processor. Your only task? Keep the device connected to the internet. It’s a simple yet impactful way to use those old phones.
Join a Worldwide Digital Movement
Join hands with individuals around the globe who are turning their old devices into Acurast farms, reaping rewards by just staying online. This isn’t just a technological shift; it’s a global revolution in cloud computing. Be a part of this change and transform the way the world thinks about and uses old devices. Your unused phone is a gateway to innovation and reward with Acurast. Start today!

FOLLOW THESE STEPS TO BECOME A PROCESSOR
1. Step: Make sure your device works with Acurast
Before getting started, make sure you have a device that can be turned into a Processor. Over 660+ Android devices can be turned into a Processor. Find all of them listed here:
Here are some of the supported devices: Google, Lenovo, LGE, Motorola, Nokia, OnePlus, BlackBerry, Oppo, Panasonic, POCO, Redmi, Samsung, Sony, Xiaomi, Zebra and many others.
Your Android device is not on that List? No problem. You can still go ahead and try to onboard it. By following the guide, you will quickly find out if your device is compatible.
2. Step: Reset your Android device
- You need to start afresh to turn your device into a dedicated processor. For this you need to factory reset it. Follow the instructions to do this (please note this can be slightly different from device to device):
Tap Apps > Tap Settings > Tap Backup and reset > Tap Factory data reset > Tap Reset Device > Tap Erase Everything - It’s that easy. For now, put these devices aside — do not set them up yet.
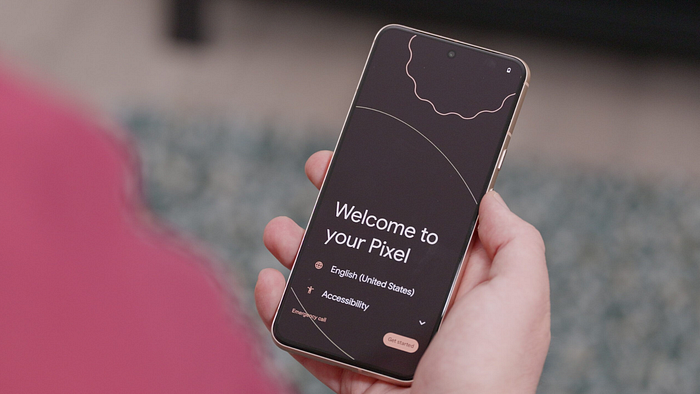
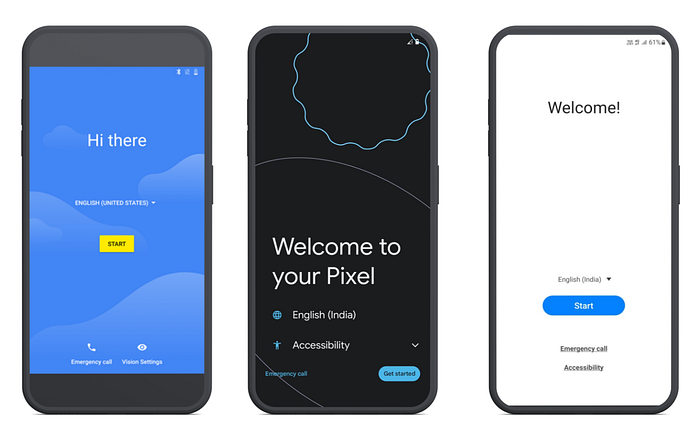
- Keep the phone on the ‘Welcome’ screen and do not proceed with the setup. Now, set it aside.
3. Step: Setup a MetaMask Wallet
Connect to the Acurast Console with your MetaMask wallet. Make sure you have Metamask installed. If you already have set up an Acurast wallet with MetaMask or any of the other compatible wallets, skip to the next chapter.
- Begin by downloading the MetaMask Wallet.
- Add the MetaMask extension to your browser. Follow the MetaMask onboarding. Ensure that you keep your Seed phrase safe; the Acurast team will never request it.
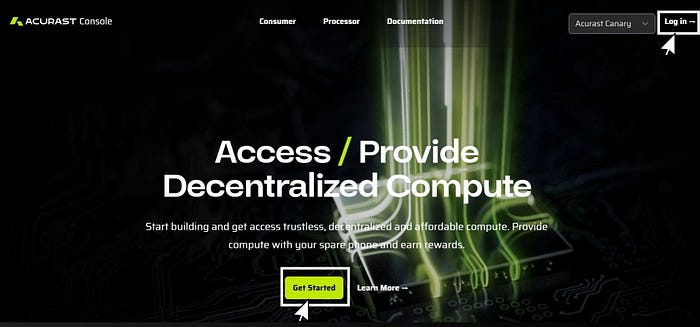
- Once ready, head to the Acurast Console and click ‘Get Started’.
4. A modal will appear for the wallet selection; select MetaMask to connect your MetaMask wallet.
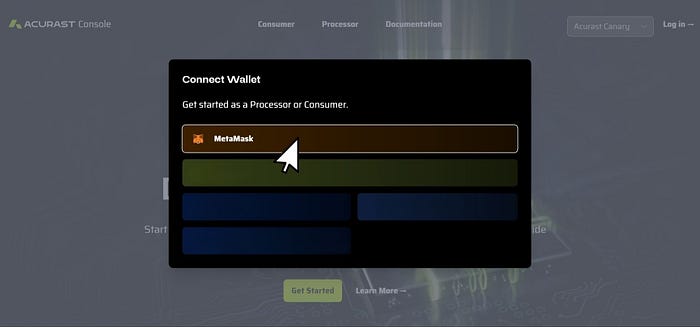
5. Follow the prompts displayed on your screen after you click on “MetaMask.” This is the final process for connecting your MetaMask wallet to the Acurast Console.


6. Awesome, welcome to the Acurast Console; you’ve successfully completed the first step.
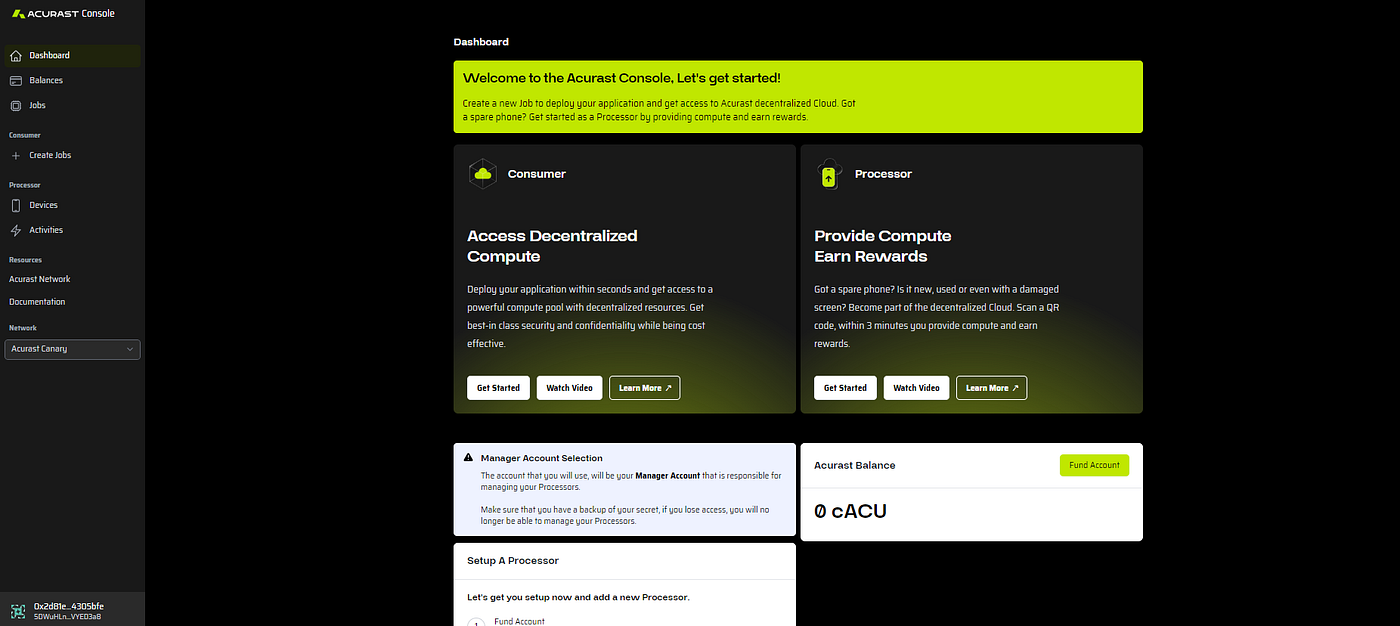
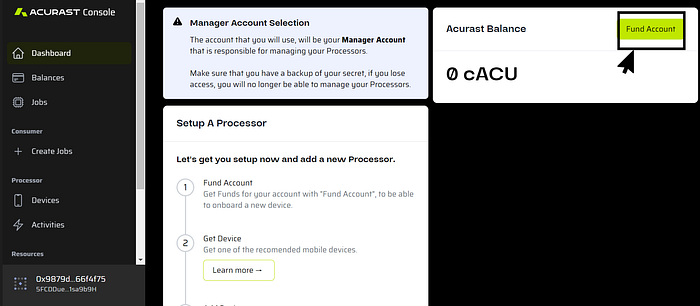
4. Step: Let’s fund your wallet on the Acurast Faucet
Remember, you can’t onboard a Processor without sufficient cACU tokens in your wallet. If you’ve followed the steps above, you’re now well-prepared to receive cACU in your wallet.
If not, please follow along:
- You can now fund your account by clicking on the “Fund Account” button on the Console.
This will take you to the Acurast Faucet (https://faucet.acurast.com/).
2. On the Faucet page, complete the CAPTCHA and claim your cACU by clicking the “Get tokens” button. It’s that easy!


3. You’re all set now to get started with your first Processor, head back to the Acurast Console to continue.
5. Step: Get logged into the Acurast Console
- Head over to the Acurast Console https://console.acurast.com/, log in at the top right, and select your wallet (if you have followed along, select Talisman)
- Select DEVICE from the left menu bar on the overview page and then select ADD NEW DEVICE to connect your dedicated device to the Acurast Console.
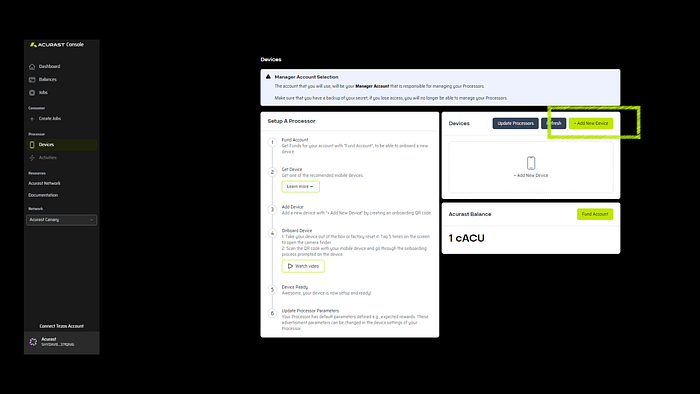
3. You will now be prompted with a setup QR code — Keep it open.

Last Step: Setup Acurast on the device
If you have followed along, your phone should now be on the ‘Welcome’ screen. If it’s not, please reset it by following these steps: Tap Apps > Tap Settings > Tap Backup and reset > Tap Factory data reset > Tap Reset Device > Tap Erase Everything.
- To activate the QR scanner, tap the screen times quickly — do this anywhere on the screen.
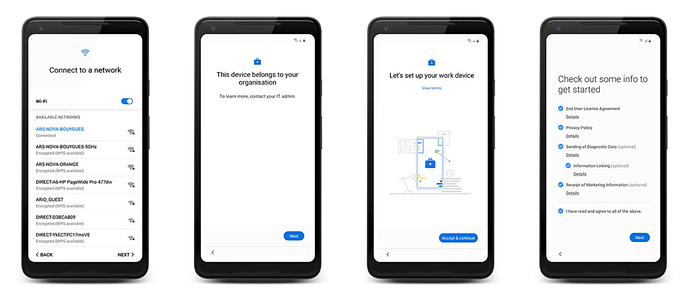
- Scan the QR Code displayed on the Acurast Console page. The device will now set itself up and download the Acurast Devices Manager.
- Follow the phone setup instructions and connect it to your Wi-Fi.
- Go through the onboarding process prompted on the device.
5. After you follow along, Acurast will set itself up, and you will see the main Acurast screen. Now, make sure you keep the device connected to a power source.
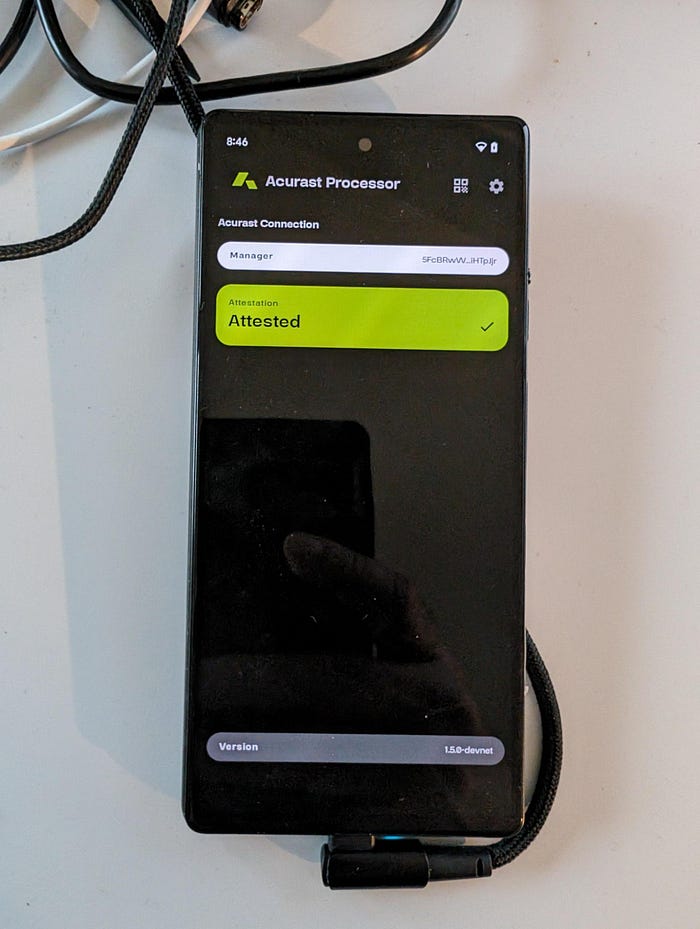
6. After the device is set up, it will be displayed in the console within the next minute — if it takes longer, refresh the page. If you see the green checkmark next to attestation, you are setup

That’s it!
Awesome, your device is now set up and ready to accept Jobs. Keep your device powered up and connected to the internet to receive and fulfill Jobs.
Read the French version, translated by a member of our community.
Website | Twitter | Discord | Telegram |Documentation